From my last post I was hoping to make a solid base for my dome and do some testing, so this is where this chapter of the adventure begins.
Building the base
I have no tools or workshop of my own, but I am blessed with a Dad who does. He also has a chop saw.
I started by drawing it all out and working out the angles and sizes of everything in my sketchbook. There are just a few things to know. You need to know what the diameter of the dome is, how many edges it has and how to work out the edge length based on these two numbers.
Edge Length (a)
Number of edges (n)
Diameter of Dome (d)
a = d sin (180/n)
It’s worth noting that when working with regular polygons the diameter is the measurement from any vertex to the opposite vertex, not the midpoints of an edge.
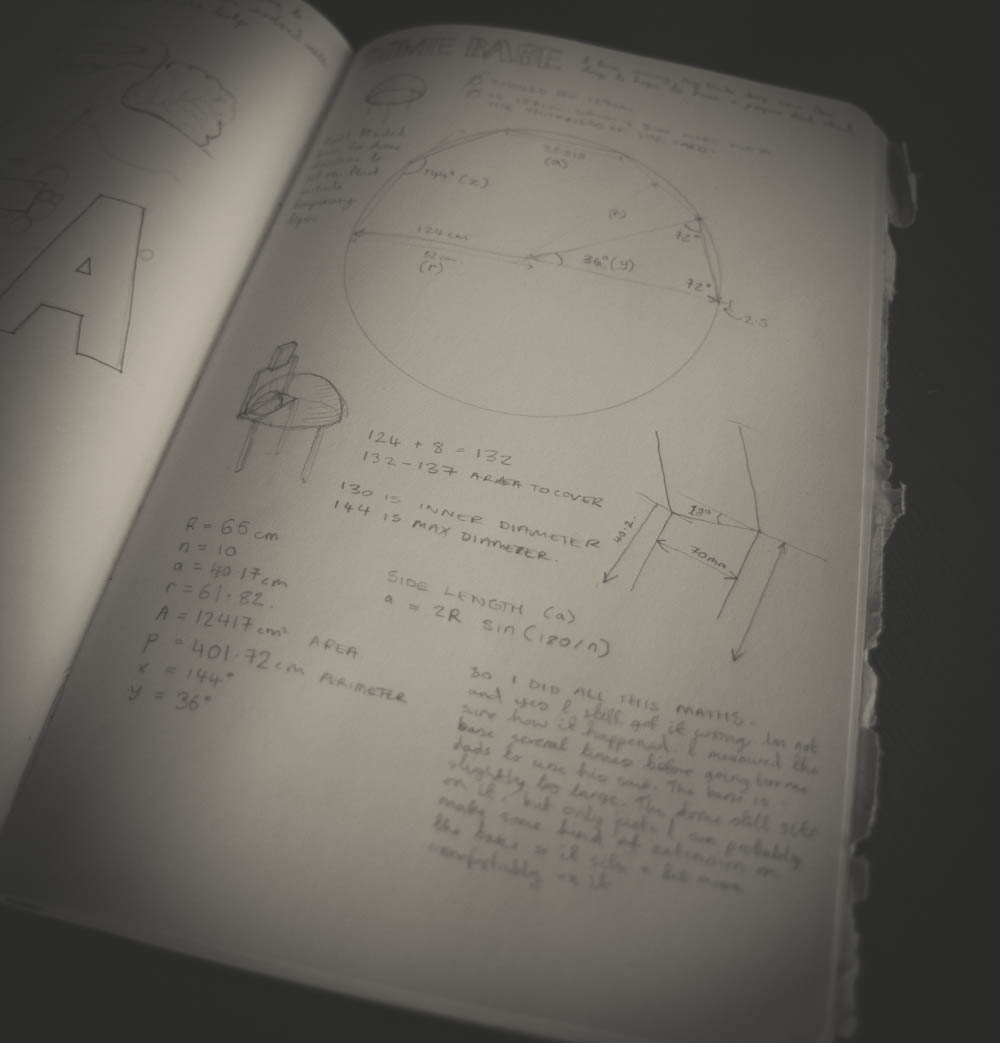
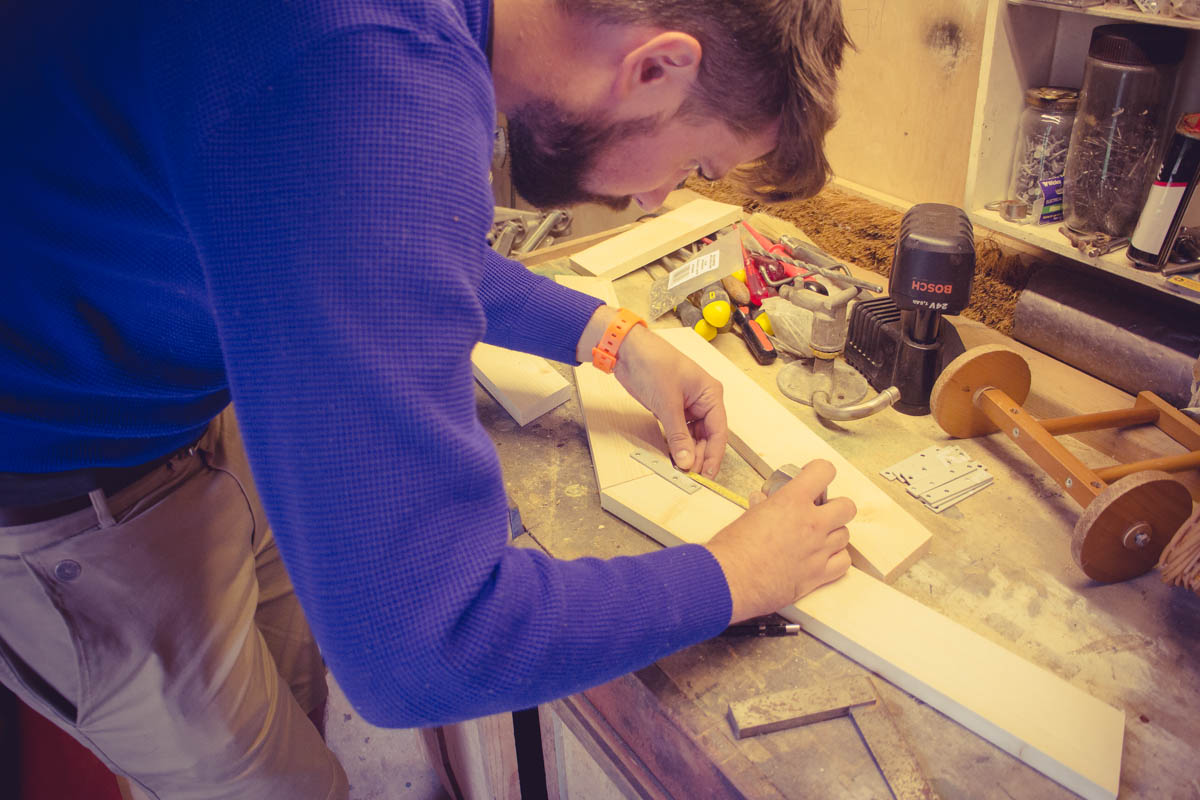
All measurements done and checked I popped down to B&Q for some cheap wood. I used metal brakets to fix the edges together and then screwed into the joints from the side to hold them tight. Just the brackets alone would have been too flimsy, allowing the base to flex slightly.
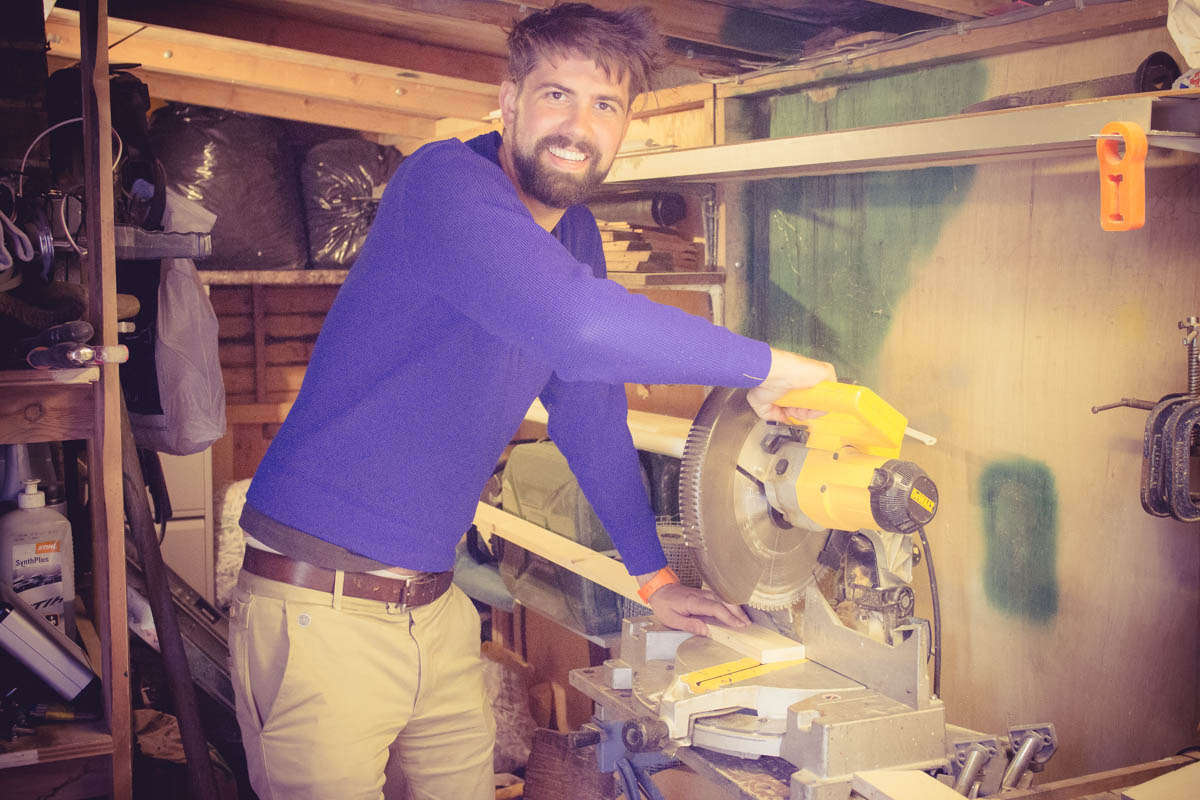
A chop saw is good for cutting angles. It’s pretty instant as well. And easy. I’ve always loved me Dads chop saw.
The final base structure. It will make a nice trellis type garden thing for plants to grow around when I’m done with it. The internal angles are 144 degrees, so I was cutting all the edges at 18 degrees. Pretty simple GCSE stuff.

Setting up the Projector
I borrowed the spherical mirror from Richard Lake at Polestar Planetarium a while ago now and have used it for a couple of experiments. It’s one of his test mirror rigs but it’s still an awesome bit of kit… so cheers Lakey!
At the moment I’m just stacking stuff on boxes and books to get it all together and working properly before I make anything final.
I actually want to mount the projector outside the dome as in my design below. This will reduce the space taken up by the secondary mirror inside the dome and give a bit more room towards the centre of the dome to view from.

After taking off a panel and wiggling the projector around a bit I think it’s possible to just remove one panel of the dome to project through rather than the whole rear section like above. For doing the external mounted setup, I’m not really sure how to do some proper tests without building at least some sort of temporary rig just to hold the projector in place. I am thinking of getting a cheap TV wall bracket and attaching it to a wooden block for the time being.
Getting under the dome is a bit awkward but it’s actually really nice and cosy inside. It’s a bit like a play pen for digital children. The holes between the panels emit light like a super low resolution star ball onto the walls of my apartment. It actually looks pretty cool in the dark. Like some kind of alien craft.

Inside is very basic at the moment. It needs some paint to get rid of the cardboard box print. I’m not sure whether to go with white or a grey tone to get the best contrast for the projector I’m using. It’s brighter than usual due to the short throw, but the lumens and contrast ratio are pretty awful so I might be better using full white anyway.
The faceted structure is quite forgiving when you’re sat in the sweet spot, right in the centre. The shape disappears better than I expected. The holes and gaps between the panels are quite distracting. I might cover each of the panels with an oversized paper surface that would overlap when constructed. I wouldn’t then have to paint the panels… Two birds and all that.


This video demonstrates how it all fits together pretty well. It’s also easy to lose a sense of the dome when looking at the visuals, even with all the print and gaps. This is also one of the camera experiments I’ve been working on recently for my new film. I’m already benefiting from using it as a test dome. I have to render everything twice using the method I developed for projecting into the corner of my room, but it’s pretty fast. It means I can render several camera passes and test them in one evening and continue to work into the cameras whilst everything’s in flow.
Next Steps
So yeah, I’ve got to sort out the inner surface mainly. Then I’m going to use it for the film I’m working on currently, yield the fruits as it were. Then I’m going to figure out the external mounting setup.
Beyond this, my plan is to get it positioned over a workstation and have the ability to angle it as needed. I may never get this far.
Leave a comment